
This post contains affiliate links, marked by *
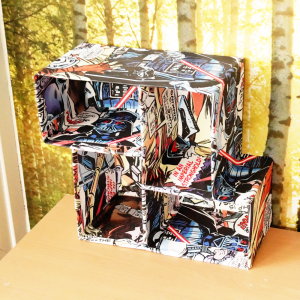
Making cardboard box shelves is not only a great way to recycle, but it’s cheap and easy.
Have a look at some more Star Wars cardboard storage here!
Here’s what you’ll need:
Bradawl* (or other implement for punching holes)
Now, the best adhesive for constructing cardboard box shelves is hot glue, so you’ll need a hot glue gun* if you want to make durable shelves quickly.
You’ll notice that I didn’t use this, because I just didn’t have a hot glue gun at the time, and I also needed to be able to dismantle the shelves eventually to reuse them.
How I made cardboard box shelves for my art studio
I needed some shelves for my studio, but couldn’t justify the cost of buying them new, and couldn’t find any second-hand that were big enough.
I bought a bookcase from a friend for £5 which freed up some floor space, but as our bikes were living in the studio at the time, I really needed to get that room sorted.
After all, the point of having a studio is to make work, not to store stuff we don’t have any other space for. If I meant to work as an artist I had to assert to myself that it’s not a luxury, it’s a necessity for my job. So what did I do? I made something.
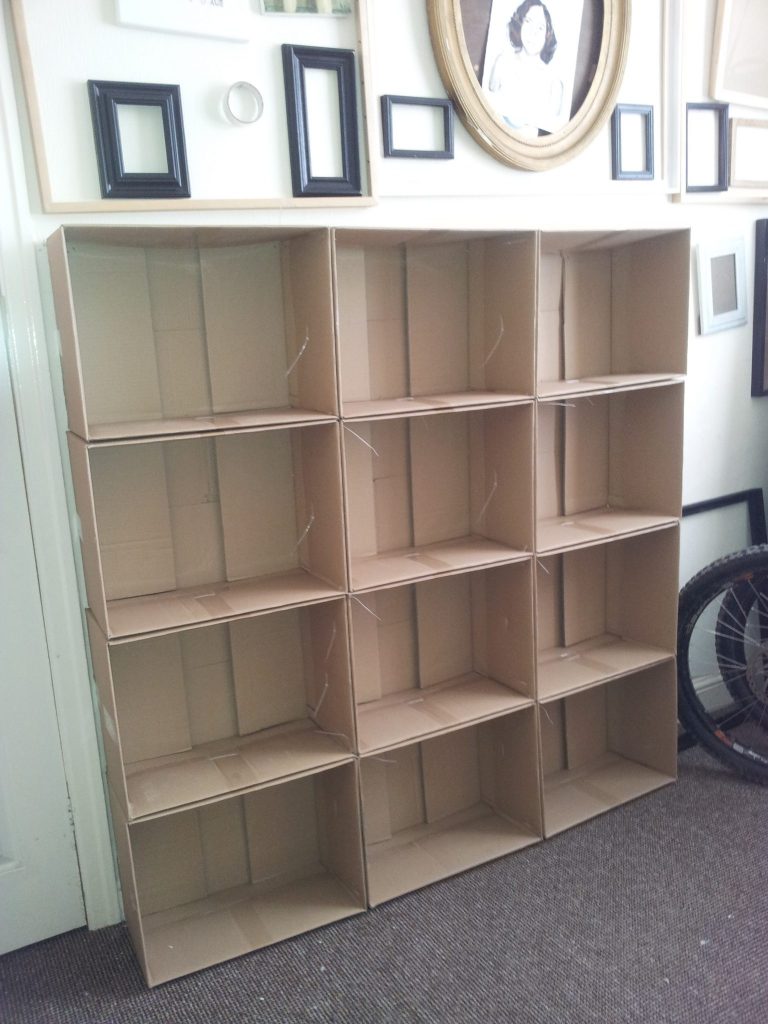
I snagged a load of cardboard boxes from my part-time job – they were being thrown out by an external company who had been selling supplies there, so they’d have been destined for the recycling bin anyway.
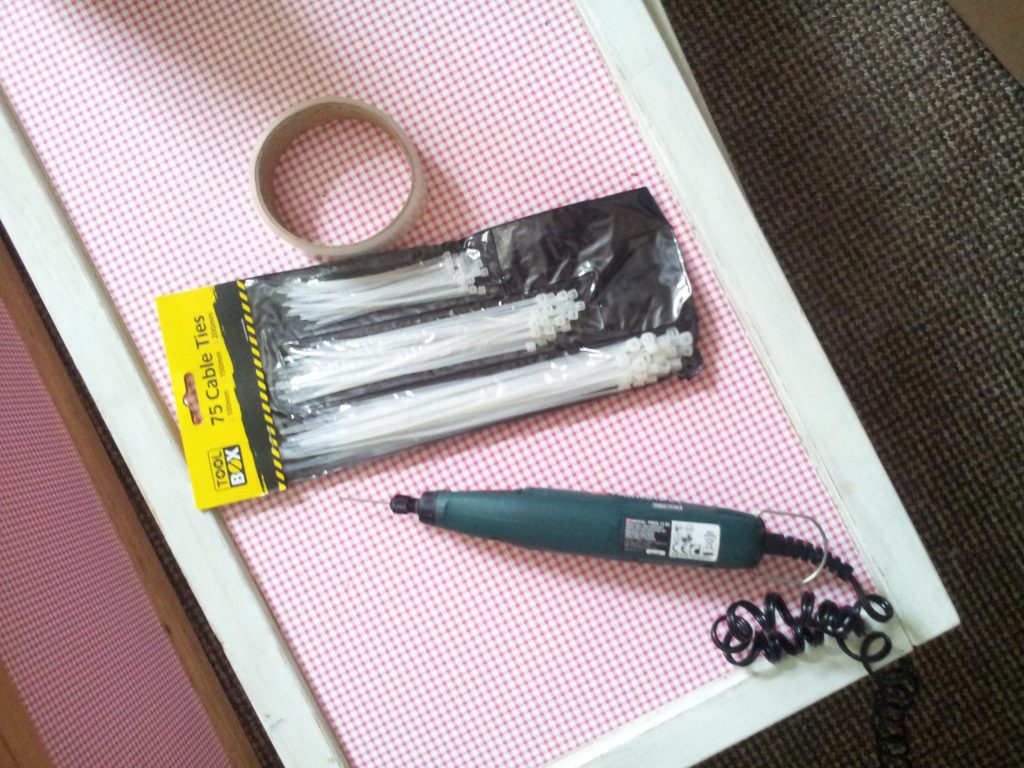
Then, my loyal husband made a foray to the pound store for some cable ties, and after a bit of time and some sore fingers, I had a new storage system.
I used some sellotape which I already had to close the backs, and started making the holes for the cable ties with my beloved multi-purpose rotary tool (from Lidl), but after a short while I realised a pair of nail scissors did a better job. So in all it cost me £1.
I would have loved some brand new furniture but there’s no way the budget could have accommodated it. We were too focused on saving our deposit for our first home together.
Making the shelves
I simply “sewed” the boxes together in the arrangement I wanted with the cable ties. I used my rotary tool to punch the holes in the boxes for the cable ties to go through, but in reality, this was more than I needed. Any sharp, slim implement like a bradawl that can punch a hole through both boxes would do.
As the shelves had to hold a lot of materials, I needed them to be as sturdy as possible. I fixed the boxes together at the sides, but also at the corner points and going around the front edges.
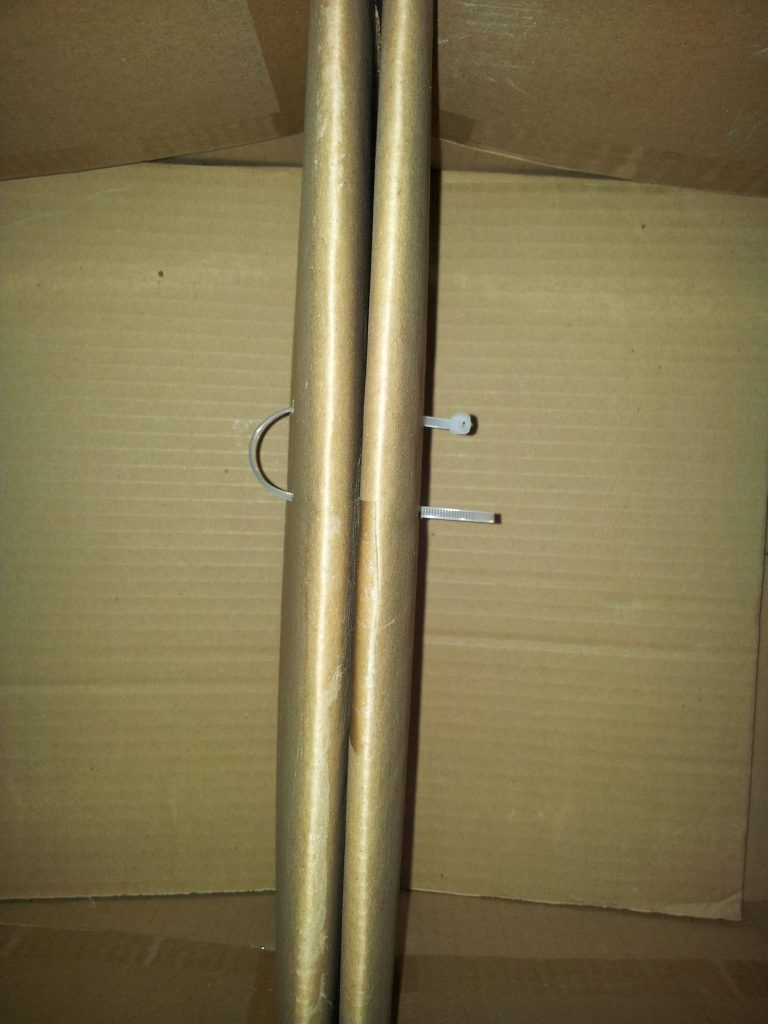
Next, I made cable tie loops at the back of the shelves to connect to hooks that screwed into the wall. Since this was pretty tall, and still only made of cardboard, I wasn’t going to take any chances with safety!
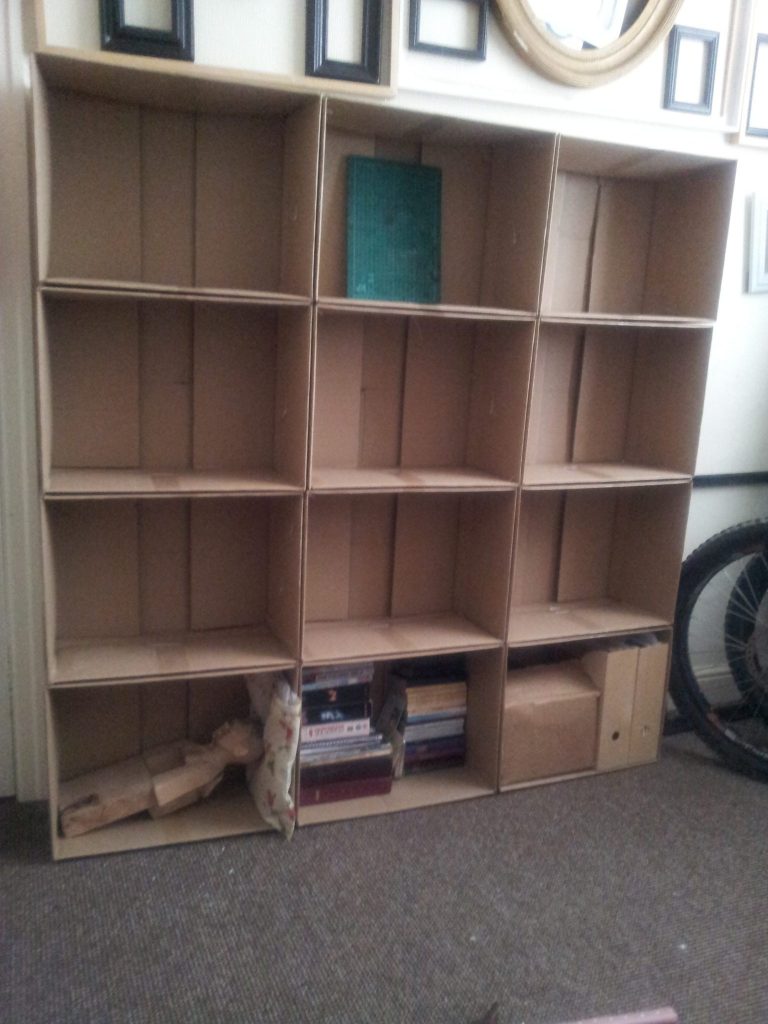
I had originally planned to make my shelves much prettier, but things worked out well with our savings plan and we were able to move to another house quite quickly… so I left the utilitarian look!
Redecorating and recycling
My shelves served me and my studio room well until we finally moved into our new home. I didn’t have a spare studio room waiting for me, so was it a wasted project?
Of course not!
We dismantled our shelves and used the boxes to transport our things to our new home!
Over to you…
Have you tried a project like this? Would you?
Like this post? Get more like it!


9 Comments
This is brilliant! I’m surprised that you didn’t spray paint them or cover them with contact paper to really make them look good. Anyway, great idea. Thanks!
Hi Stacy, thanks for commenting!
Yes, I did intend to cover them with fabric to make them look nice, but at the time I was renting a house that I absolutely hated, and I was desperate to move so I was hoping to have to dismantle them sooner rather than later. And when we did move, we just cut the cable ties and used the boxes!
Hi!
What a nice project! I was looking for something like this to make. I moved in a new house quite recently, and before beginning shopping for furniture, the lockdown was enforced here in France. I cannot tell you how desperate I am with my books and other things still in cardboard boxes. Fortunately, the boxes are quite sturdy and your post gave me some ideas, I will definitely try making this. At least it will help me get organized a little instead of merely waiting for furniture shops to reopen (in a very long time I believe).
Thanks!
Such a brilliant idea. I’m going to make one to pack away some of the small children’s toys. My daughter recently moved house so I have plenty of spare boxes.
Was planning on moving, already had tons of boxes, and minds got changed. I was left with many boxes, and saw this idea! I’m very excited to make my cardboard storage bins. Gonna start the project in a few minutes. Thank you!
I have so much yarn laying around and my crafts room needs organizing so am planning to make a shelf to put my yarn where i can find them without suching thru’ everything.
This is what I’m in need of! I have so much material for sewing, I Love it!!!
Oh my gosh…EXACTLY the idea I saw in my mind. But wasn’t sure. I’m in a rental so it won’t be a loss to get new boxes. Then I can store all my yarn, fabrics etc but able to see it. Thank you for sharing!!! ????????
Great idea. I just moved and was wondering how to use all the moving boxes. This will be great for my craft room. And, I’ll use the rest to make a cat castle for my kitty.